Squeedunk Cormorant Build Log Page 3
Putting it all together
Once the deck was glassed I got all excited and forgot to take pictures through the process of making and installing the hatch rims and the deck fittings.

Squeedunk Cormorant Build Log Page 3 |
Putting it all together |
Once the deck was glassed I got all excited and forgot to take pictures through the process of making and installing the hatch rims and the deck fittings. |
|
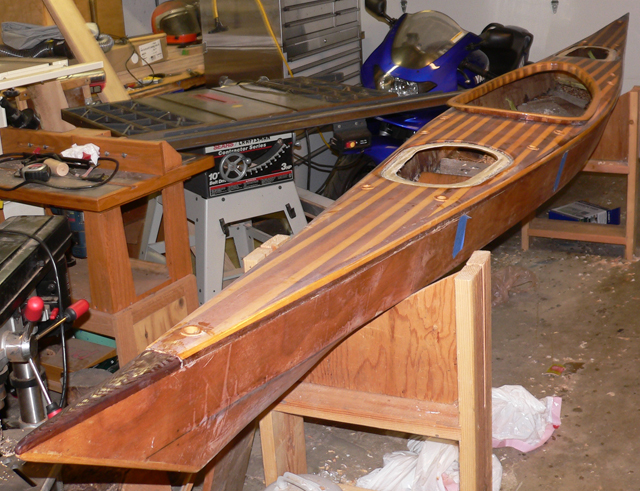
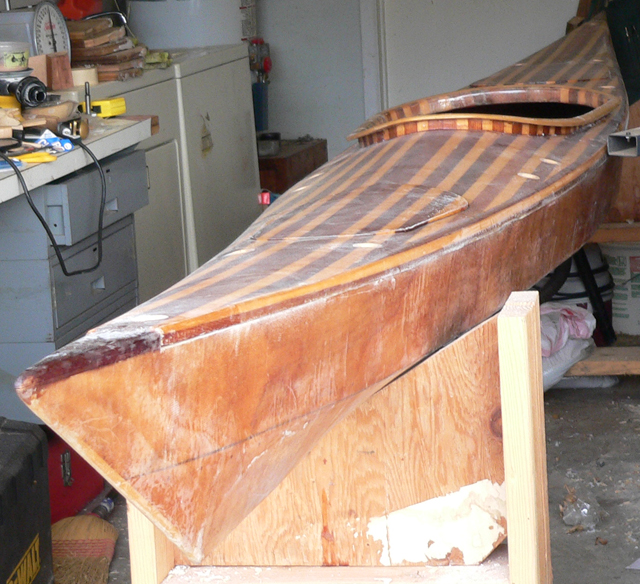
| This is a view of the deck from the front. It it fitted to the boat buy not yet joined to the hull. |
|
| The same thing from the rear. |
|
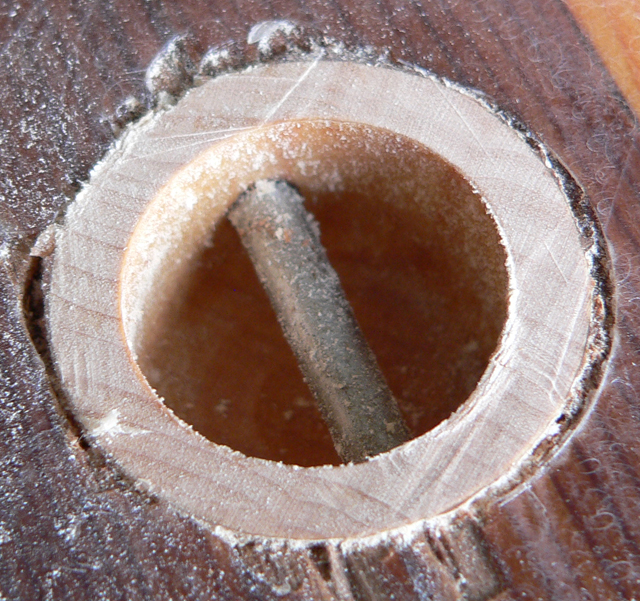
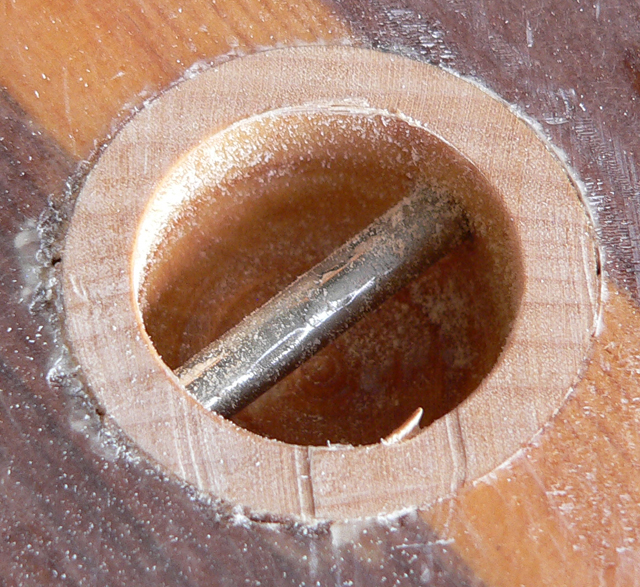
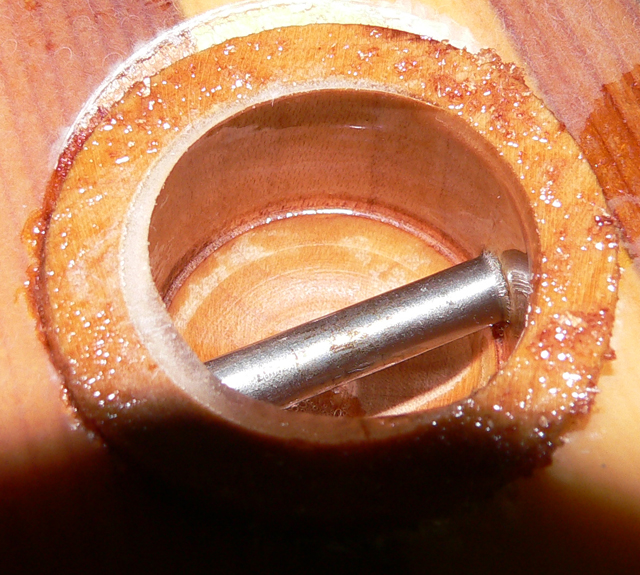
| I turned the deck fittings on the wood lathe. They were turned out of hard maple and coated with epoxy. The bars were stainless steel rods from the hobby store. The fittings were then glued into the deck with dookie schmutz. The idea was not original. I got it from a number of posters on the KBBS and adapted it to my own needs. Next time I will make the central hole a bit deeper so that it's easier to get the various lines under the rods. |
|
| Once I had glued the fittings into the deck, I smoothed them to the height of the deck with a block plane. Not the neatest work in the world, but it did make things flat enough so that I could put on more fill coats of epoxy and sand things smooth. |
|
| A coat of epoxy can hide a legion of sins. I didn't do a great job drilling holes for fittings, so I made sure that every place where the wood was exposed was well coated for water proofing. |
|
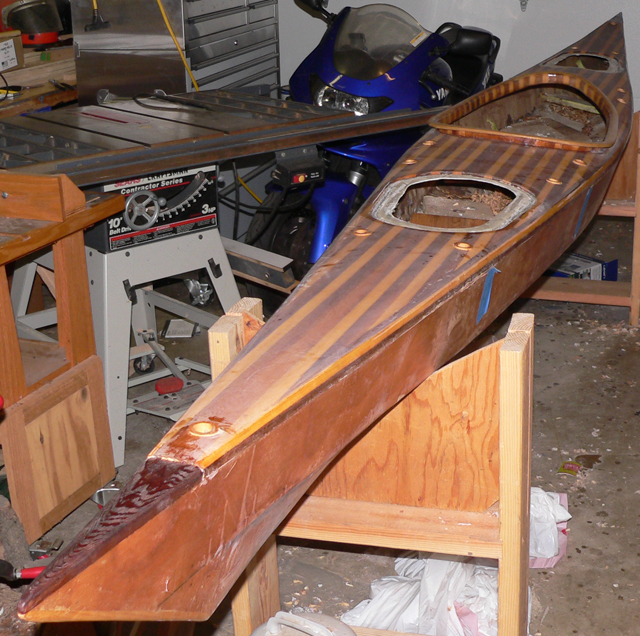
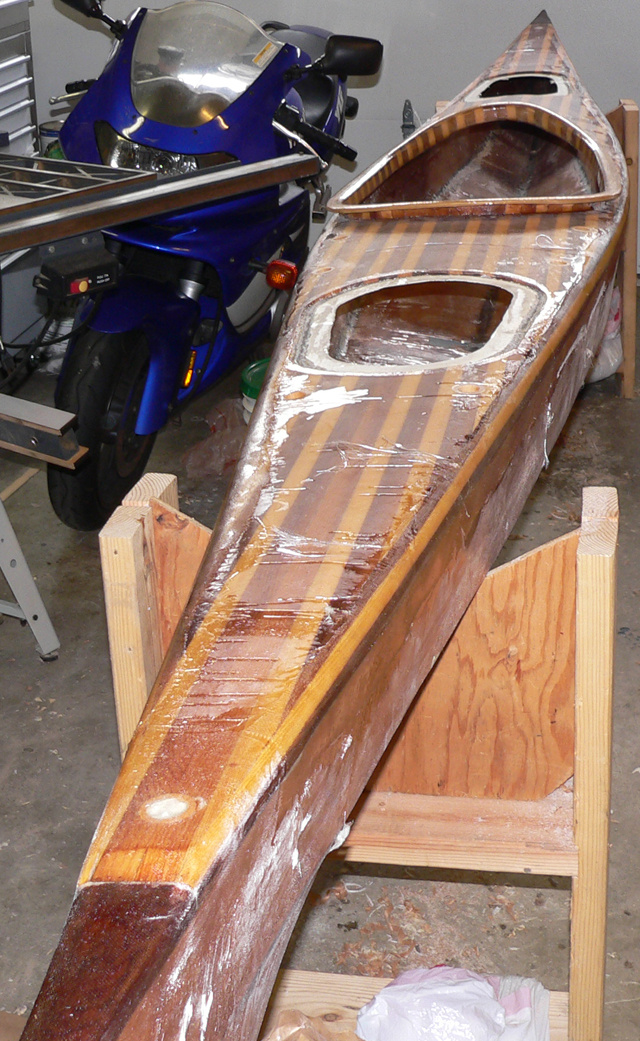
| A shot of the deck from the rear. The fittings and hatch rims are glued in but the fittings haven't been smoothed yet. |
|
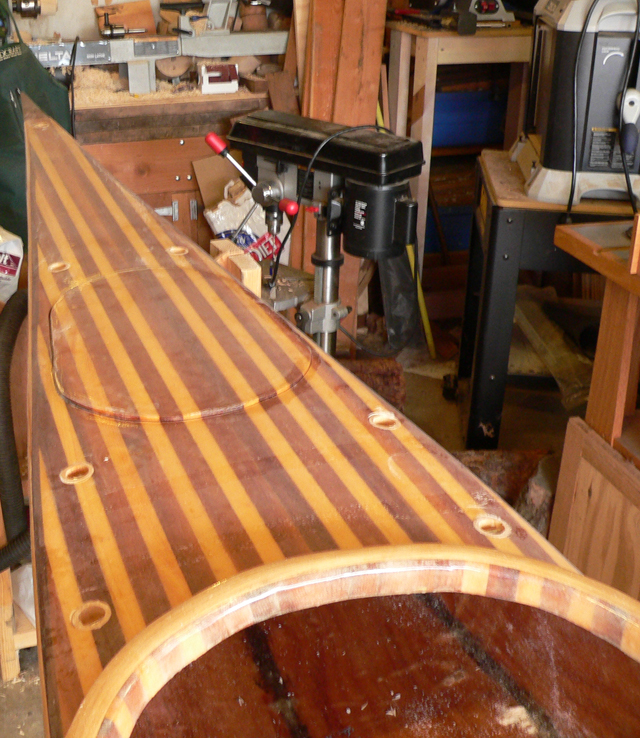
| A closer look at the bow. The unplaned deck fittings are clearly visible at this angle. |
|
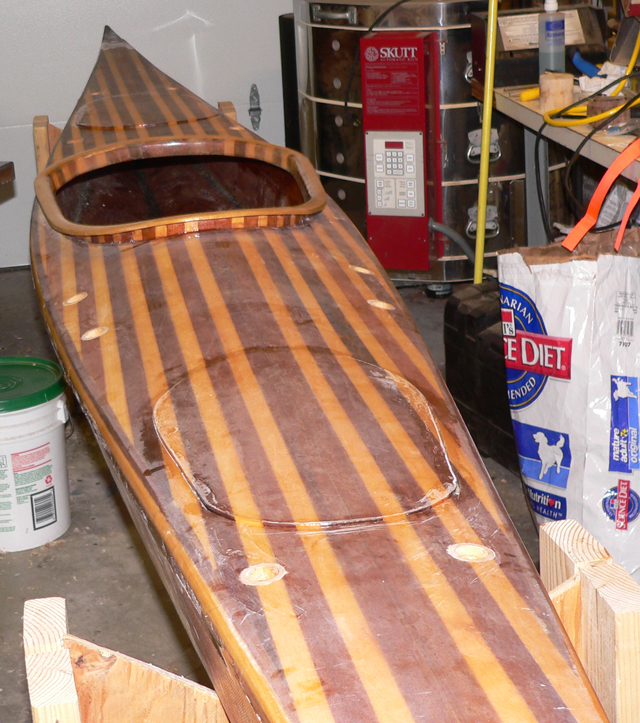
| A front view with the deck fittings smoothed down and the hatch covers laid onto the rims. |
|
| The same basic view from the other side of the boat. |
|
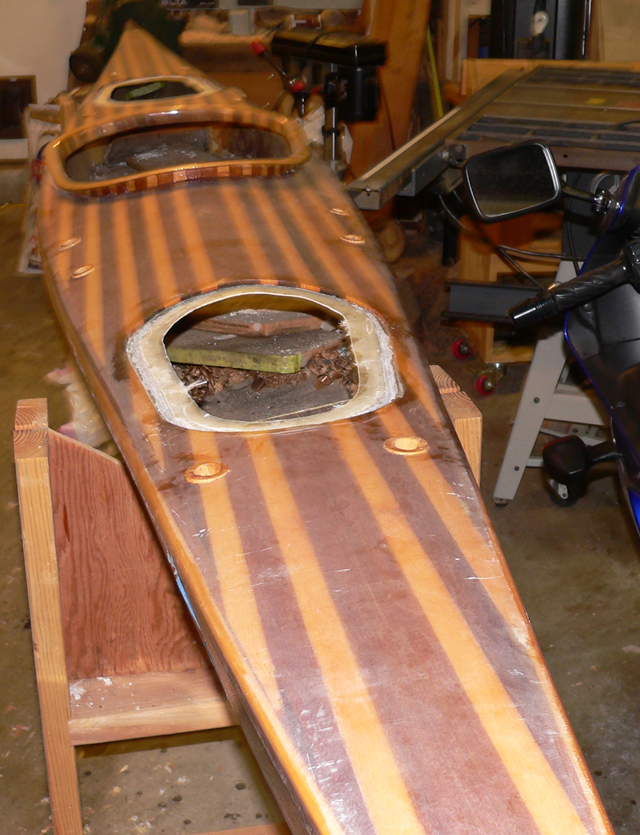
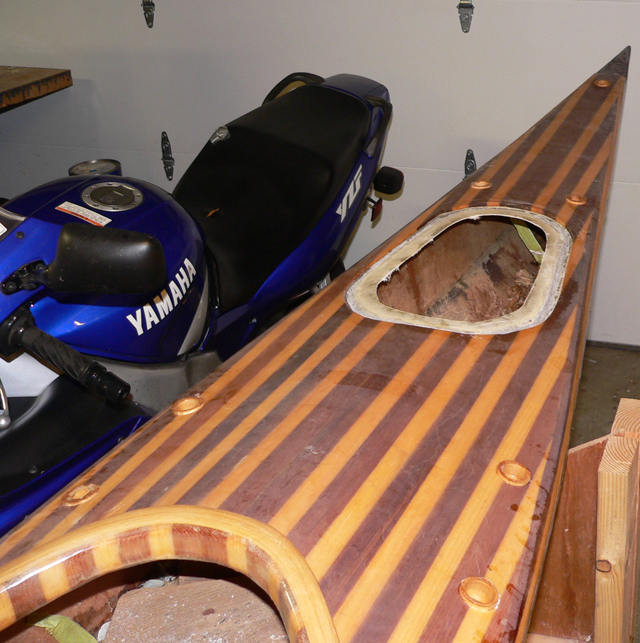
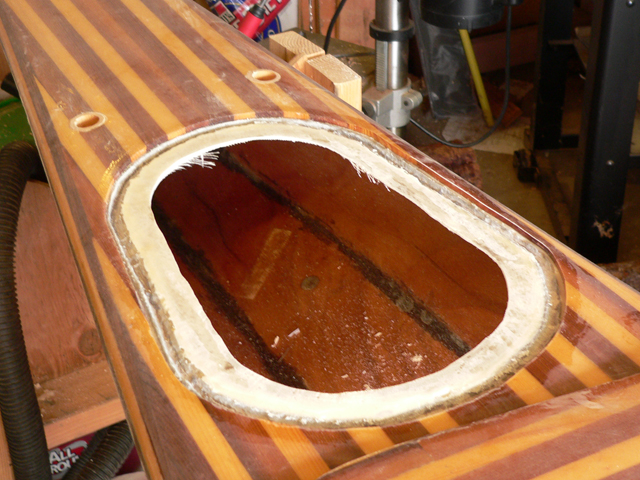
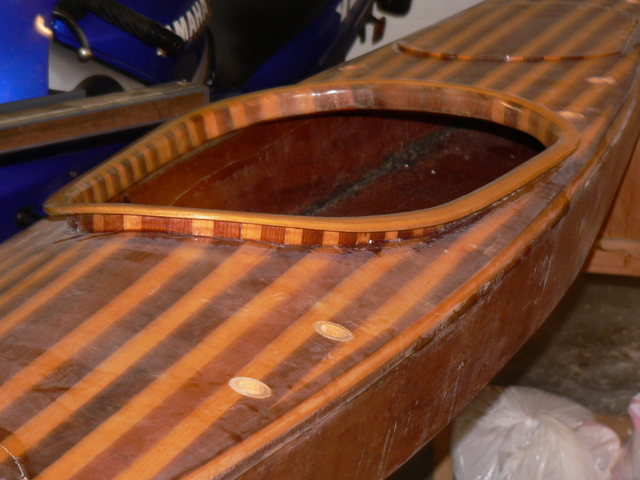
| A view of of the back hatch cutout with the rim installed. |
|
| The rear hatch with the lid laid in place. Note that I didn't succeed in creating flush hatch covers. Oh well. Time to get this boat on the water. Do better next kayak. |
|
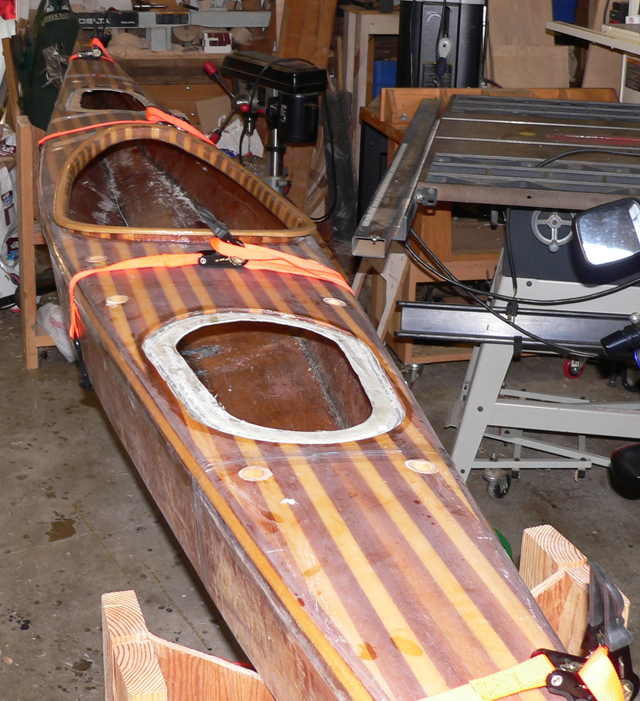
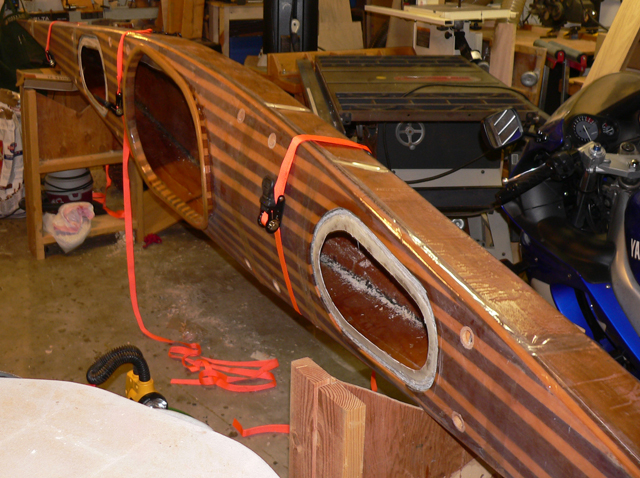
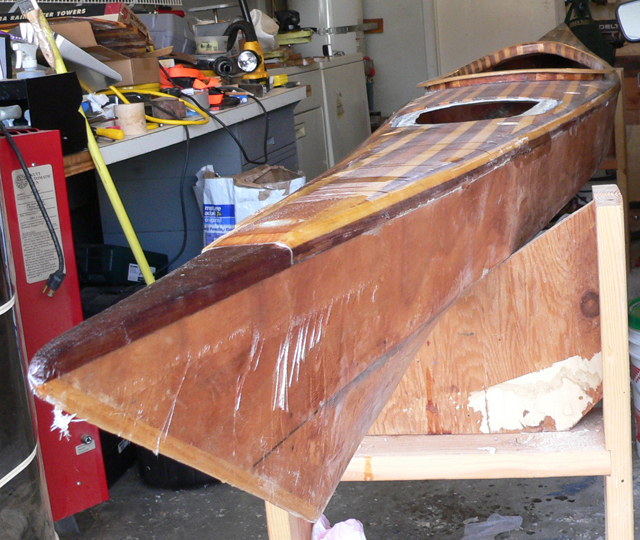
| Time to join the deck and hull. I had to do a lot of poking and prying to get things alligned, but I managed. |
|
| Another shot of the boat ready to be glued. I used four cam straps and a lot of packing tape to keep everything alligned while I glued up the seam between the deck and hull. |
|
| The boat is laid on its side so that I can tape and glue the inside seam. A bit of the glassed joint is visible through the cockpit in this shot. |
|
| The deck is attached on the inside. I soaked 3" fiberglass tape in epoxy and pushed it out with a cheap paintbrush taped to a stick. Later I pushed the bubbles down with a light squeegy. It all went together surprising well once I had the hull parts alligned. |
|
| Another shot of the boat with the inside glued and taped. Note all the shiny areas of epoxy where repairs were made. They will be sanded down some time in the future. |
|
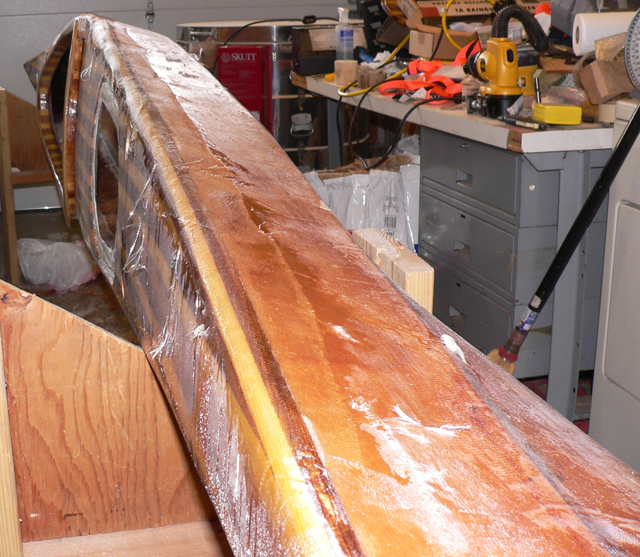
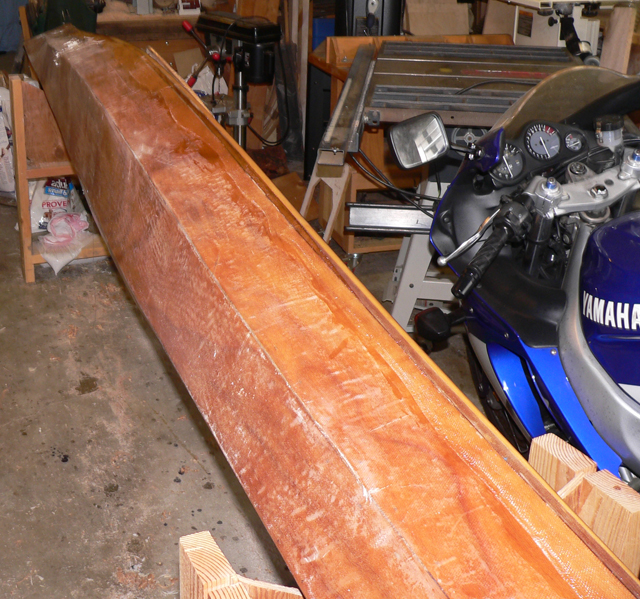
| After joining the inside seams, it is time to do the outside of the deck hull joint. |
|
| Note that rather than using fiberglass tape for this joint, I used bias cut strips of 6oz glass cloth. These lay smoothly over the curve of the joint and allowed a smooth tight seal to be achieved. |
|
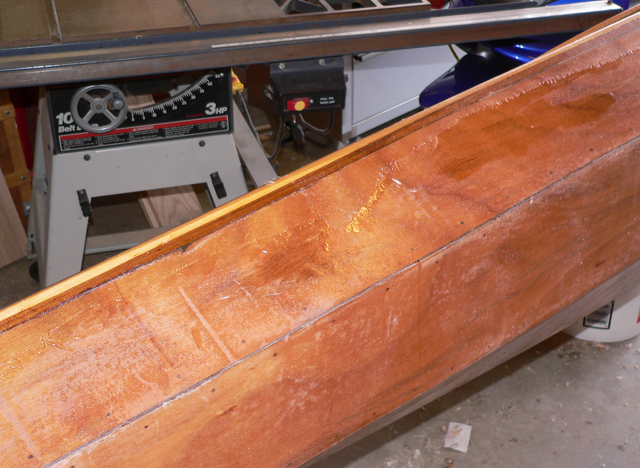
| As can be clearly seen from these photos, the joints are a bit messy. I was more concerned with getting a good seal than beauty at this point. I knew that I would be scraping and sanding the edges of the glass to blend them smoothly into the lines of the boat. |
|
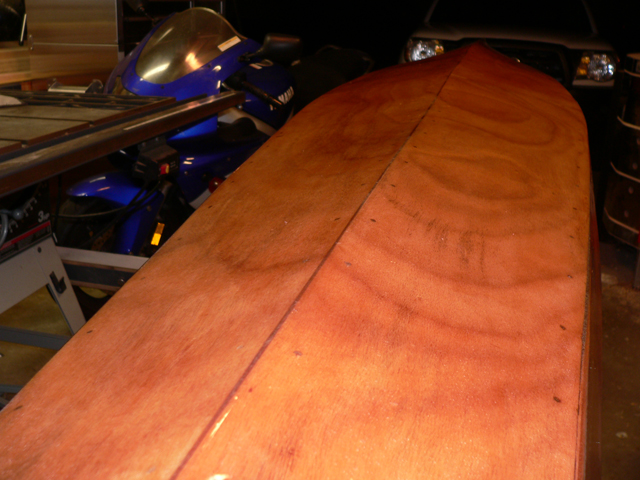
| A view of the seam from the top. Note the rough appearance of the unsanded cloth extending over the deck. |
|
| Another shot of the same. It's funny how things are so messy during construction and look so much better later. |
|
| A last shot showing the pieces of glass that I folded over the bow and stern to reinforce the joints. |
|
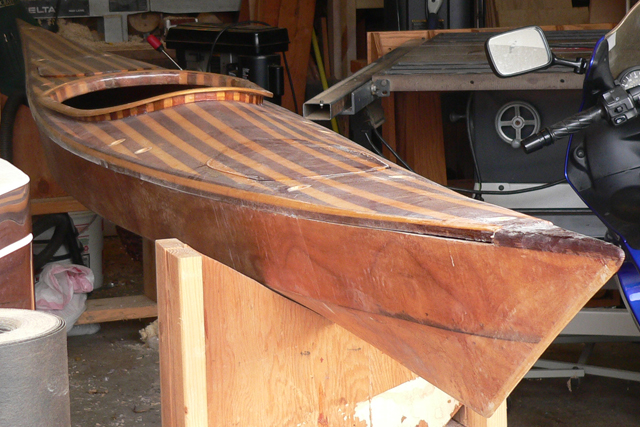
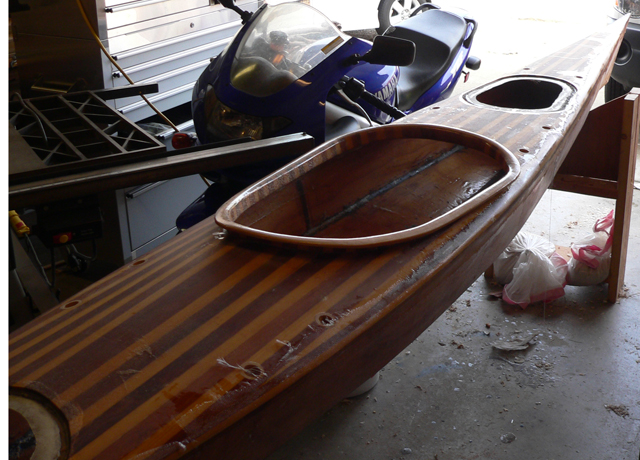
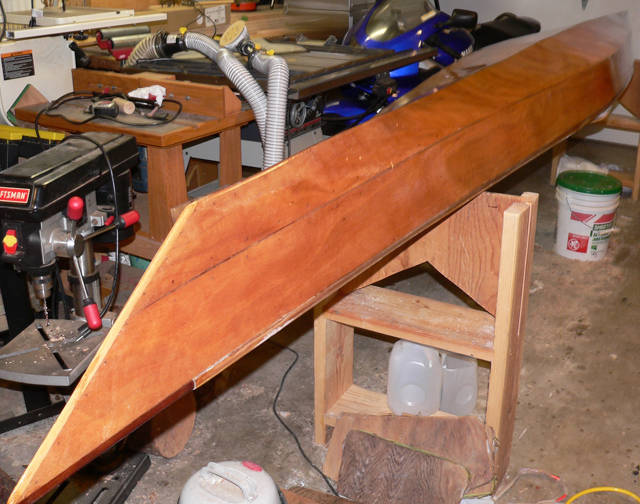
| The boat has been turned over and a couple of fill coats have been applied. All the seams have been smoothed and sanded. |
|
| A longer view of the deck, showing how the most obvious imperfections have been smoothed over. |
