Squeedunk Cormorant Build Log Page 2 |
Stripping the Deck |
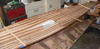
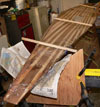
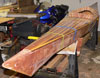
I had been planning on making a strip built kayak for quite some time, so I had wood saved for the purpose. I had some nice western red cedar and also some cypress that I had bought while I was working at Woodcraft. I drafted a friend and his table saw, and we cut a couple of boards of each wood into strips that were nominally 1/4" thick. I used them as they came off the saw. It was a big mistake. I will use the planer to bring to exact thickness before I make my next boat. Sanding the high spots down on the deck was a lot of unnecessary work, and I never did get things smooth to my satisfaction. |
|
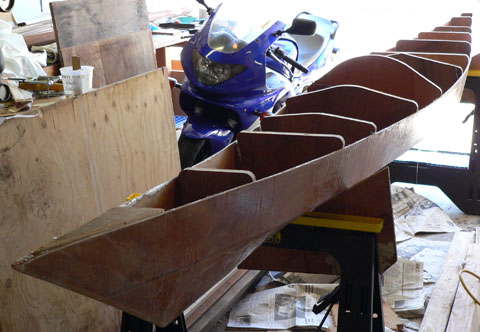
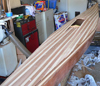
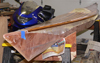
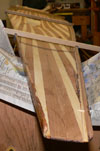
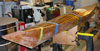
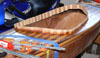
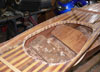
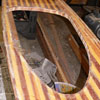
| Now I am putting the forms that I will use to strip the deck into the boat. I just cut them to size and shape and attach them to the inside of the hull with hot glue. The glue doesn't stick too well to the epoxied surface, so will be easy to remove later on. |
|
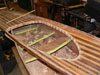
| Here is another pic as I begin to insert the forms. |
|
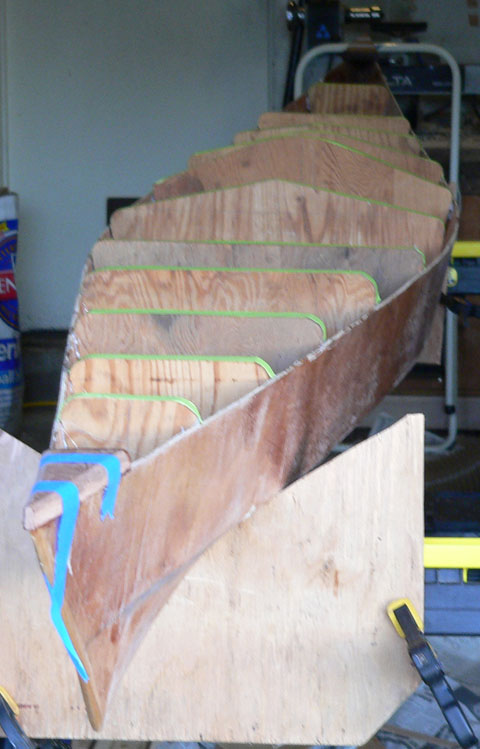
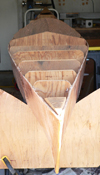
| Now all the forms are in. |
|
| Another shot with all the forms in. |
|
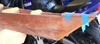
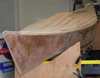
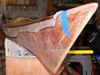
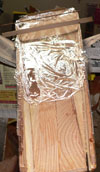
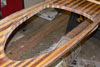
| I decided to use solid end caps on the bow and stern of the boat rather than trying to make forms for the very ends of the deck. I used some scrap red cedar that I had lying around and sawed them to shape and glued them on with thickened epoxy. This one is on the stern of the boat. |

|
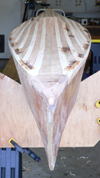
| Here is a pic of the end cap on the bow. |
|
| A closeup of the bow end cap. |
|
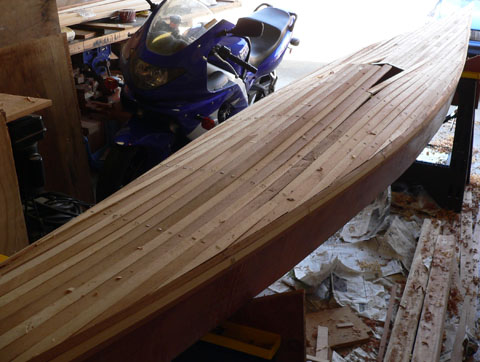
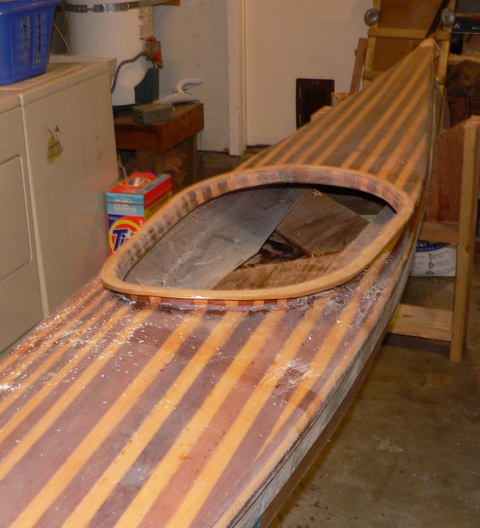
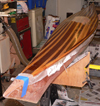
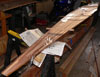
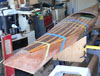
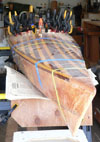
| The boat after all the strips have been laid, before removing the staples and sanding. |
|
| Another shot showing the lines of staples holding the strips to the forms. |
|
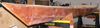
| The staples have been removed and sanding of the deck has begun. Patches of thickened epoxy have been applied to the major gaps. |
|
| Another shot. The dark areas will be sanded down as the deck is smoothed, and hopefully will not be terribly visible once the deck has been glassed. |
|
| A low profile shot. Shows a bit of the deck and the current state of fitting. |
|
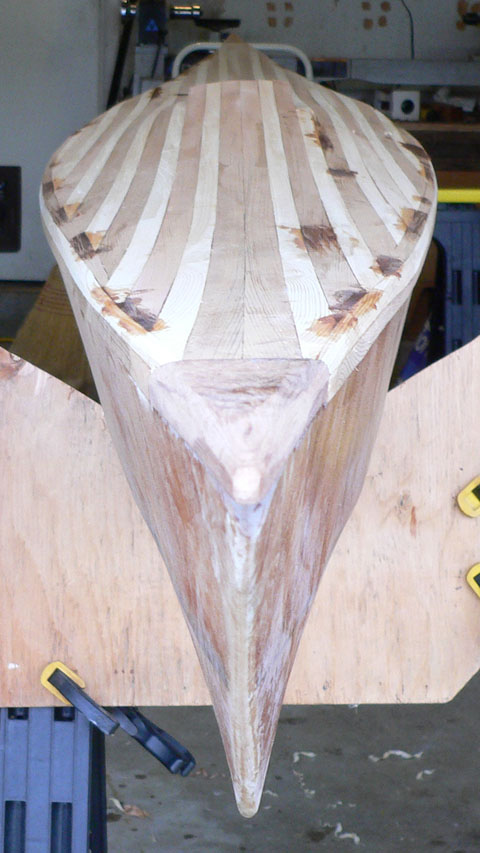
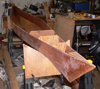
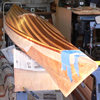
| The state of the deck after extravagant sanding. The cypress is much harder than the western red cedar, and it's difficult getting the strips level with each other. |

|
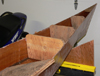
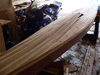
| Here is the other side of the bow. I'm much more concerned with getting the deck nice than I was with the hull. |

|
| A longer angle shot. Once again, from the bow looking in. |
|
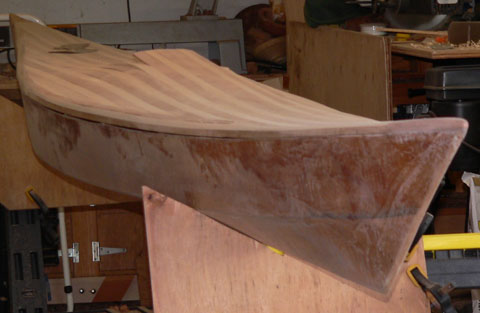
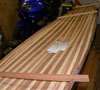
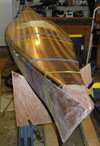
| The fiber glass cloth has been stretched over the hull and two coats of epoxy applied over it. One more should fill the weave of the glass cloth nicely. This shot is from the stern of the boat looking out. |
|
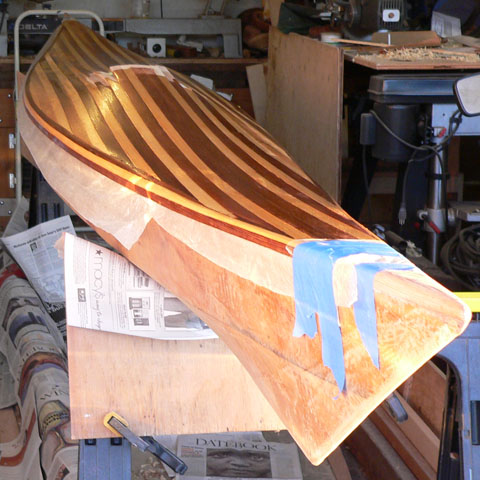
| The bow of the boat. You can see the wet look of the epoxy over the contrasting strips. |
|
| A shot of the other side of the boat. Note the waxed paper between the deck and the hull. The keeps the deck and hull from sticking while the deck is glassed. |
|
| Wave angle photo of the bow. Starting to look like a kayak! |

|
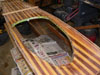
| The inside of the hull has been turned over in the forms and sanded thoroughly. |
|
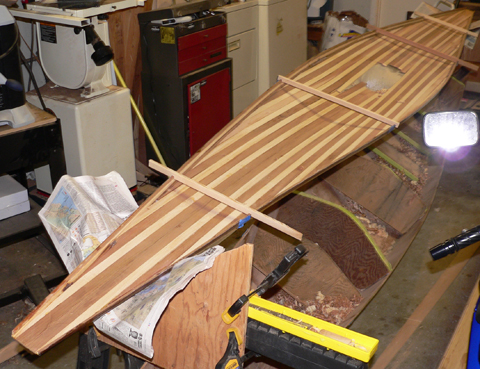
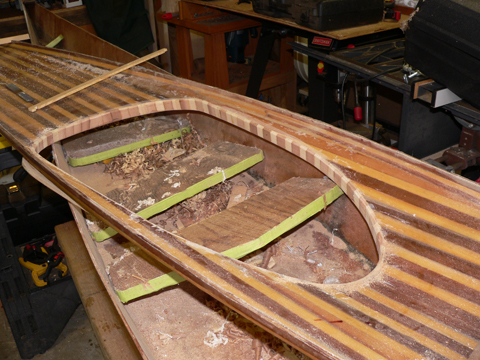
| Note the stretcher sticks holding the shaped of the deck. This is done so that the width of the deck doesn't change as smoothing and fiber glassing take place. |
|
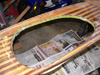
| The cockpit area of the deck. Inside view. Note that the deck isn't smooth in some places. My strips weren't the same width, and I had to do way too much thinning in some areas. Going to be a lot of schmutz patches inside here. |
|
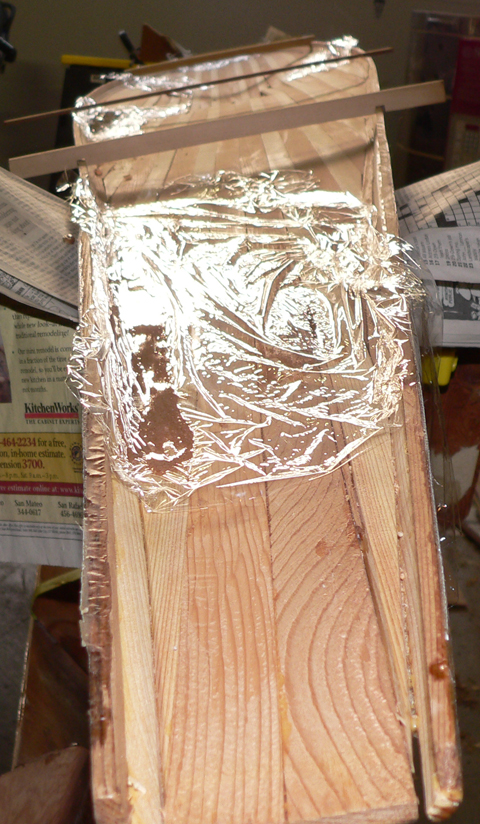
| A mixture of epoxy, microballoons and sawdust (dookieschmutz) in used to patch dips in the inside deck that I couldn't smooth by sanding. |
|
| I put plastic wrap over the patched areas and smoothed them down as best I was able. Makes less work later. |
|
| Here is a view of the patches on the bow of the boat. |
|
| A long view of the deck. You can see that there were lots of patched areas. |

|
| Another show of the bow. You can see that there was a certain amount of mess, even under the plastic wrap. |
|
| A bow shot. The hull has been turned over and put back on the forms. A bit of tape holds the whole thing together. |
|
| Another bow shot. Yes, I will sand it all and make it look pretty eventually. |
|
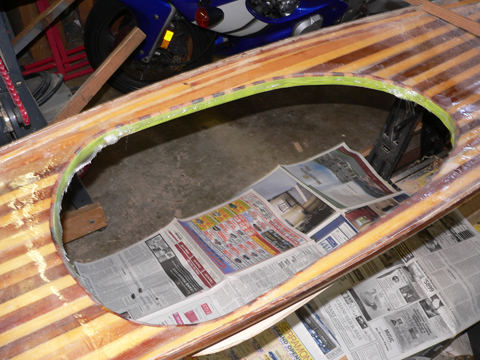
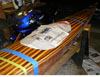
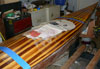
| A shot of the cockpit cutout template laying on the top of the deck. View from the stern. |
|
| Another cockpit template view. Just have to put it in the right place, tape it down and trace. Once that's done, It will be ready to cut out. Stuff doesn't look too bad! |
|
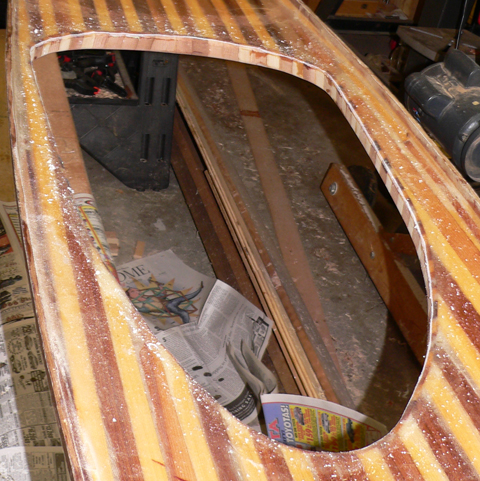
| Here is the deck with the cutout for the cockpit. Was scary putting the jig saw into the deck! Seems to have come out OK though. |
|
The riser has been glued on to the deck. This was done by using hot glue to stick the uprights to each other and wood glue to edge glue them to themselves. |
|
Once the glue had set, I trimmed the riser to the approximate height I wanted it. I made a thin mix of epoxy thickened with sawdust and glued it around the joint between the deck and the upright sections of wood to strengthen the joint so that it wouldn't fail while I was doing the next steps. Trimming the riser before creating the cockpit rim made it a bit more difficult to glue the rim on, but kept me from having to worry about getting the correct distance between the combing and the deck. |

|
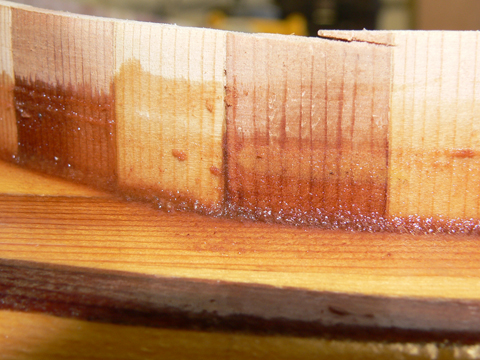
| This is a closeup of the joint between the riser and the deck. Just a thin bead of thickened epoxy is all it took. I actually smoothed it with my gloved finger. Easiest way to make a neat glue joint. |
|
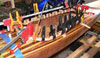
| Once the cockpit riser was ready, I soaked a bunch of thin ash strips and glued them around the riser to form the combing rim. Because I planned to reinforce the rim with glass, I used wood glue to glue the strips to each other. |
|
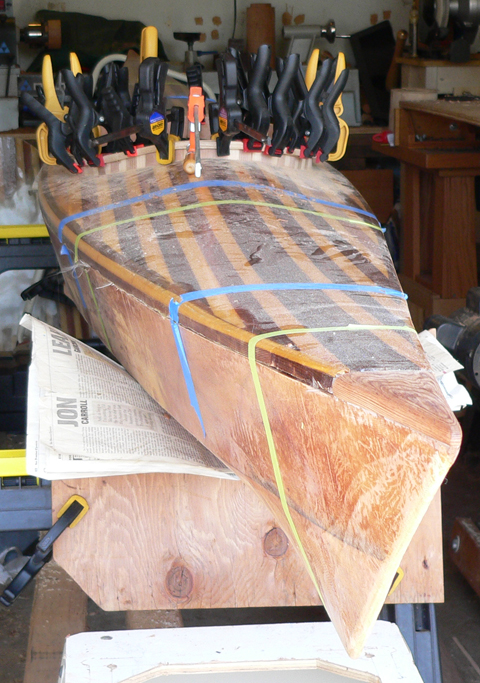
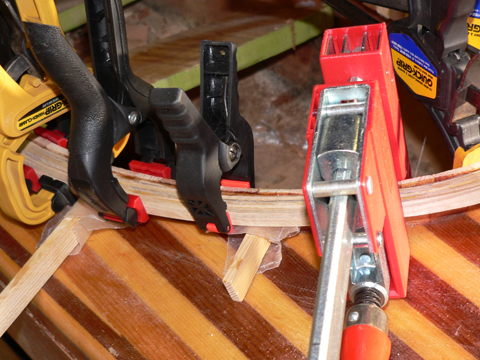
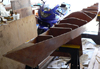
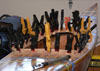
| Note the use of many clamps. I ran out of spring clamps and ended up using all sorts of heavier duty wood clamps. Just anything I had. The strips were laid on one at a time. Was a pain, but I think that the results look pretty good and will hold the spray deck securely, which is the idea. Definitely worth it! |
|
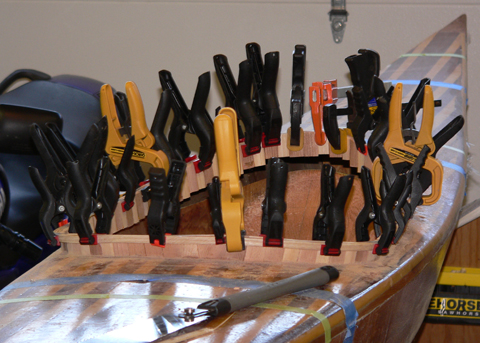
| Here's a closeup of the forest of clamps that were required to hold the strips tight to the riser as the glue set. |

|
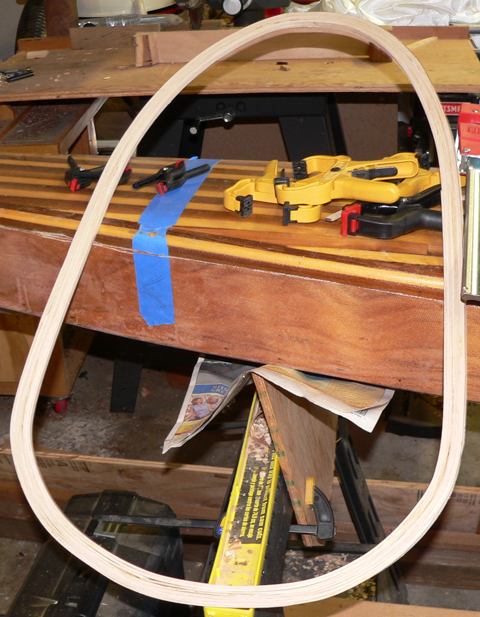
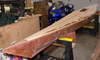
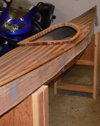
| After allowing the glue to dry, the cockpit rim is removed from the riser and cleaned up. Both sides are planed and sanded to create a smooth surface for the sprayskirt to grip. |
|
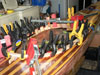
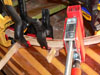
| Now it is time to glue the rim back on the risers. A mixture of thickened epoxy was used to glue the rim on and as you can see, the forest of clamps were once again deployed. |
|
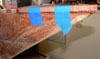
| Another view. Notice that spacers were employed between the rim and the deck. This ensured that the rim would be at least high enough for the spray skirt rand to grip. |
|
| A closeup of the glue up. It went rather well. |
|
| After trimming the top side of the combing, it was time to work on the underside. First I used a small electric saw to cut off the major part of the overhanging cockpit rim. I then used a trim router to clean it up and round the inside over. |
|
| Another view of the inside. Even with the routing, it was still necessary to clean up the tight spots by hand. I used a four in hand file, making good use of both the rasp and bastard file portions. Was a lot of work, but eventually everything got contoured pretty well. |
|
| After smoothing things, I put a layer of masking tape around the inside edge of the cockpit to keep the glass and epoxy from sticking. I want to bring glass over the cockpit rim and down into the boat from the top, so this is just there to reinforce the joint between the riser and the deck. |
|
| Another shot of the same. You can see that the glass isn't really sticking to the tape. To take it off, I'll use a sharp knife to cut the glass around the joint between the tape and the riser. Allows me to peel the excess glass off with the tape. |
|
| Here is the inside area with the tape pulled and everything scraped in preparation to flip the deck and start glassing from the other side.
|
|
| Another shot of the same. Just another angle. |
| One last shot of the cockpit opening. |
|
| The completed cockpit viewed from the back of the boat. |

|
| The completed cockpit viewed from the front of the boat. |