Build Log For My Squeedunk Cormorant

Building the hull

In the fall of 2004, I was working at a tech company for the first time since the dot bomb in 2001. I spent a lot of time talking about kayaking and building a new kayak. I was facinated by the idea of building a boat of my own, one a bit more sporty than my QCC 500. One of my co-workers challenged me to get going on the project rather than just talking about it. That provided incentive for me to begin looking for a fairly easy design, as I had already bought a set of plans which looked a bit too complex for me to start without some practice. this boat is the result.

The Squeedunk company provides offsets for a stitch and glue version of their Cormorant 16 free of charge on their company web site. I downloaded the plans, bought some marine plywood and got to work. I plan to make a hybrid version of the boat. That means stitch and glue for the hull and strip build for the deck. The rational for this is simply that strips are much prettier, and thus should be used on the deck which is going to be visible when the boat is in the water. It's also easier to strip the relatively flat deck as apposed to the compound curves of the hull.

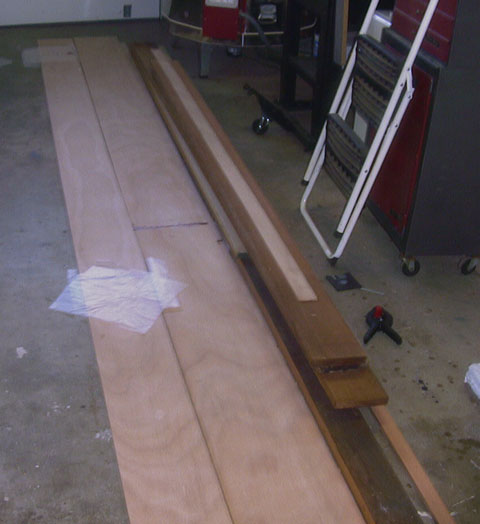
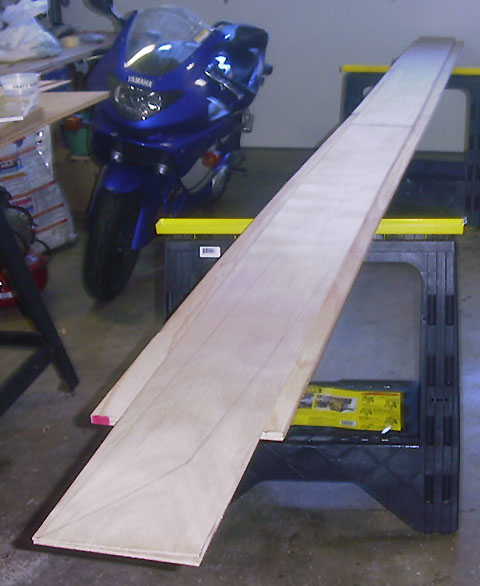
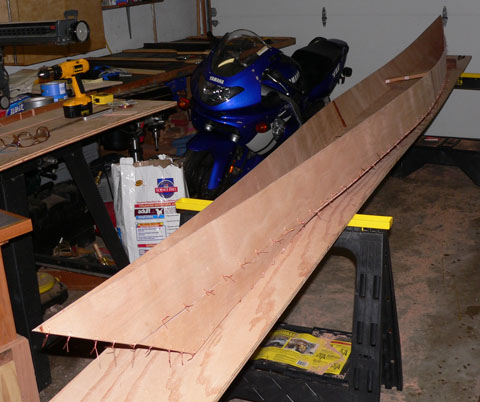
The first thing one does with a stitch and glue kayak is to lay out the various panels and cut them to size. I was not prepared to join two full sized pieces of floppy marine plywood together all at once, so I measured the sizes I would need, cut the plywood into strips of the proper width and scarfed them together to make the longer strips required for my panels.


Panels scarfed together


Another shot of the panels


This shot shows the outline of one of the panel sets drawn on the plywood prior to cutting.

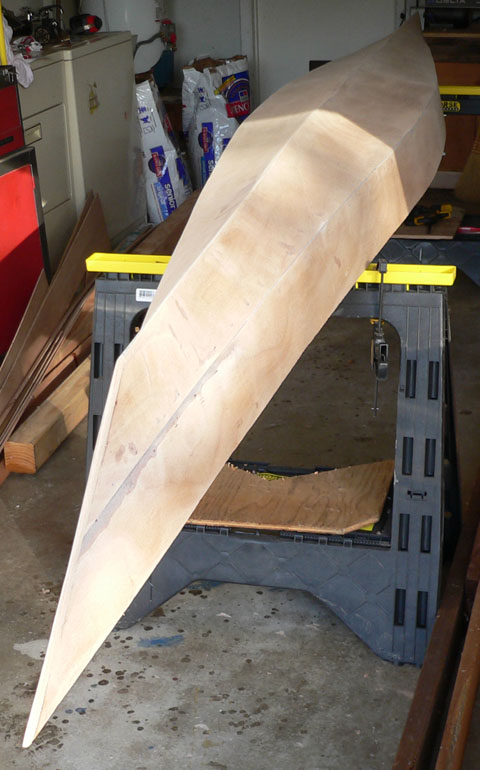
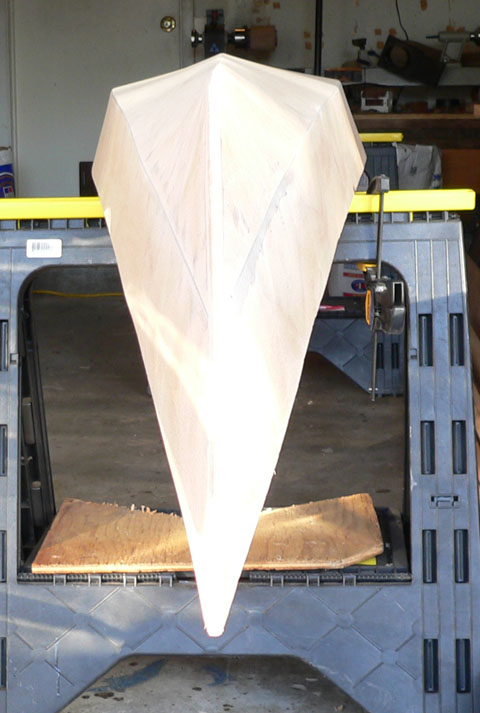
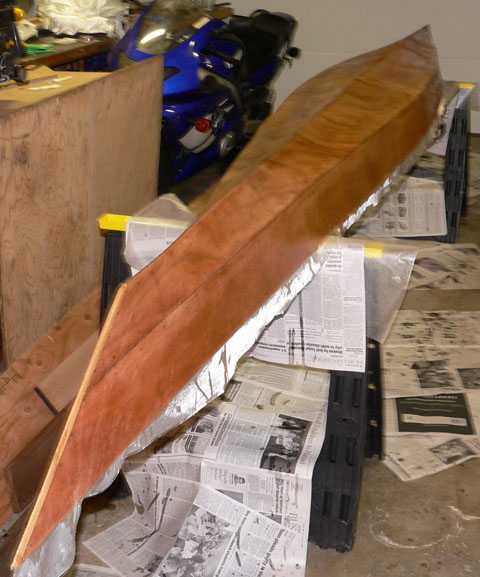
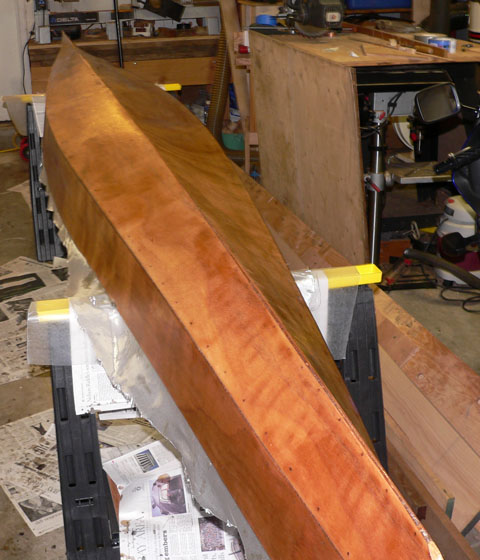
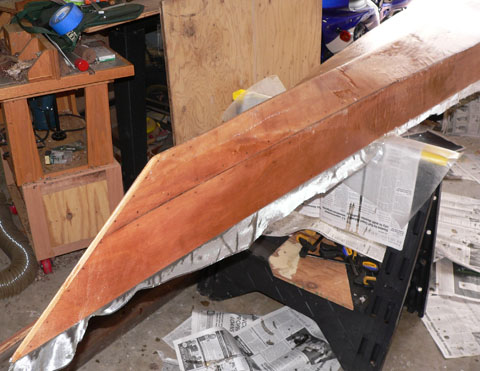
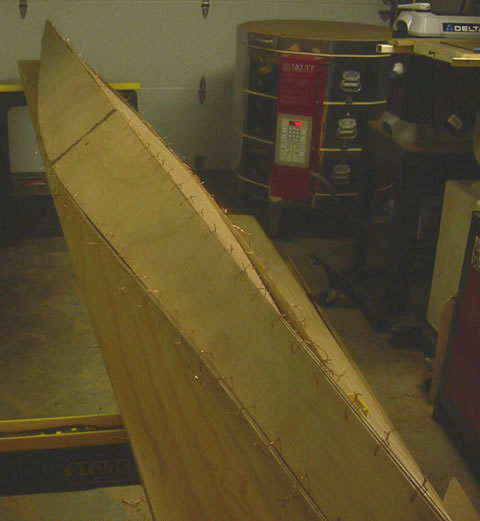
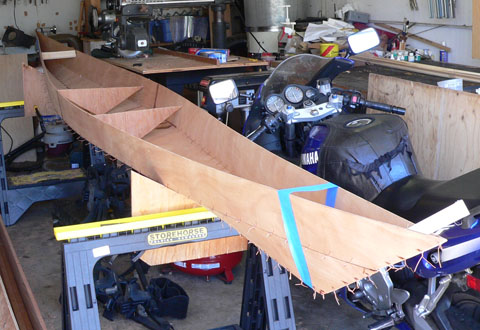
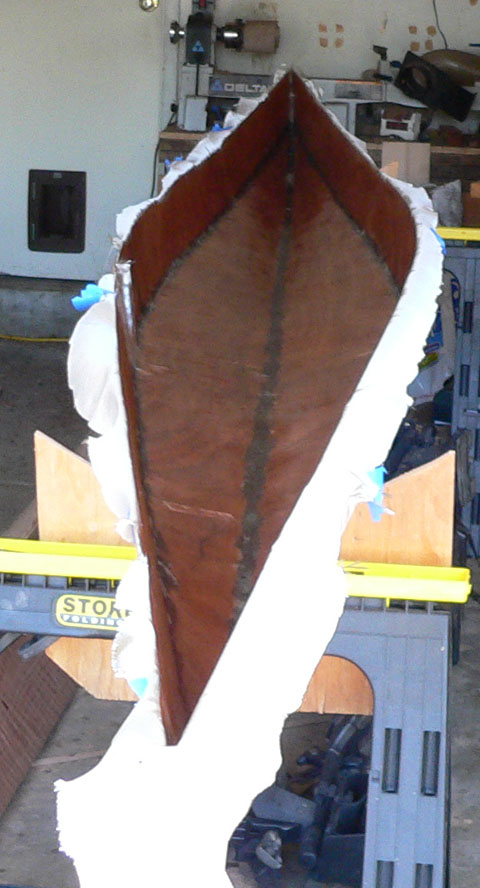
After the panels have been cut to shape, holes are drilled along the sides and they are stitched together. I used copper wire for this. Some people use steel wire, some use zip ties. It doesn't really matter what you use as long as the task is accomplished to the satisfaction of the builder. Here are some pictures of the partially stripped boat, presented in no particular order.


Panels stitched together except for bow and stern ends.


Another pic of the ends flapping in the workshop breeze.


Shows the offset panels. This WAS a mistake.


The whole boat stitched together. Notice that it is folding in on itself. Spacers had to be inserted inside to hold the width out to the proper beam measurement.

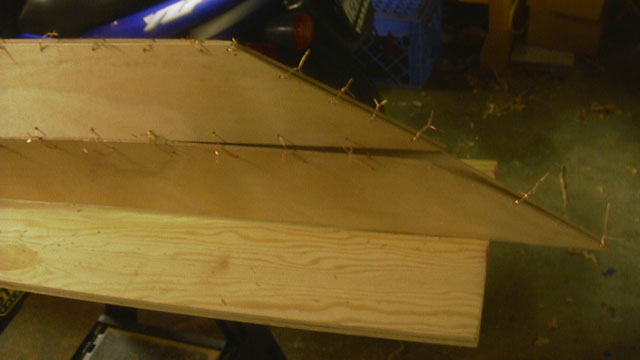
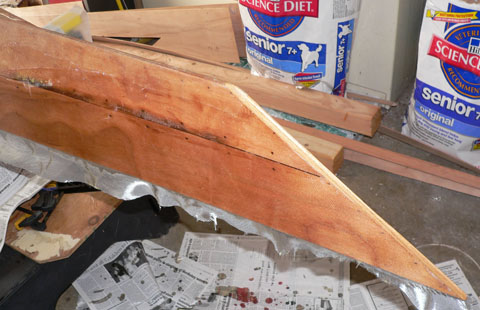
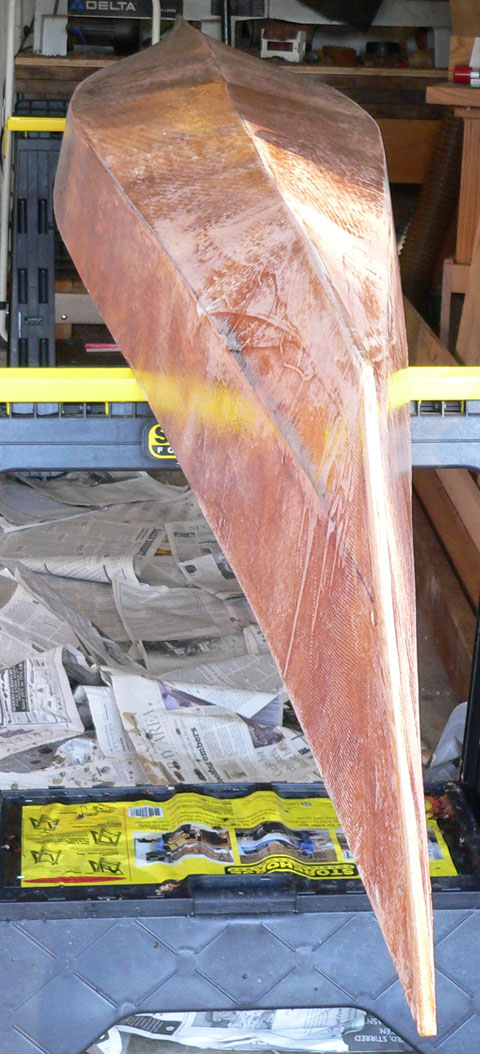
As an interesting side note, I actually made a mistake in the original stitching which caused the top and bottom sets of panels to be offset at the bow and stern of the boat. This is visible in the detail picture of the bow of the boat. I had to completely unstitch them and do it a second time to correct the problem, but corrected it was, allowing me to move on.


Panels all stitched together. Looks like sort of a boat.


Another shot of the boat all stitched.


The last one.

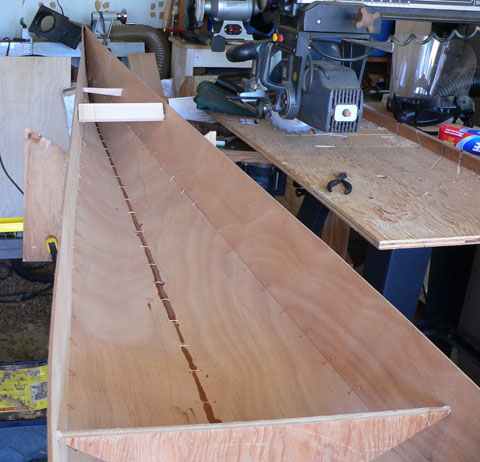
Once the boat is stitched up and the shape looks good, it's time to glue things up. The first step is to run a line of epoxy down the stitched up seams of the boat. I had to do this in 3 stages, one with the boat on it's keel, another with the boat on one side and then the other. Otherwise the epoxy from the side seams would have run down into the keel line of the boat and wouldn't have done much to stick them together!


Here is an interior shot with the keel glued up.


This is another inside shot of the keel showing the glue line running to the bow of the boat.


An exterior shot of the bow of the boat. This shot clearly shows the glue that leaked out of the too-wide seams at the bow of the boat.

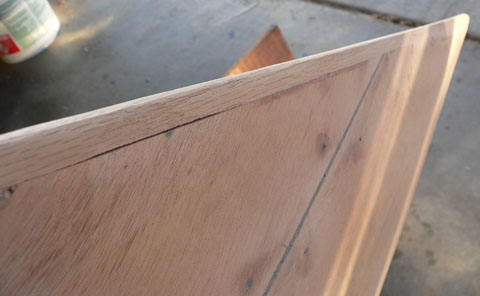
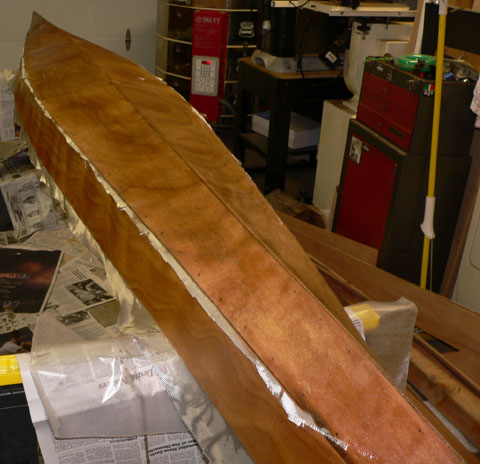
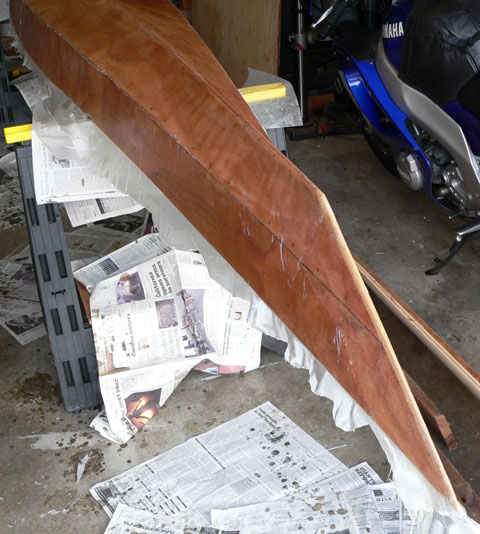
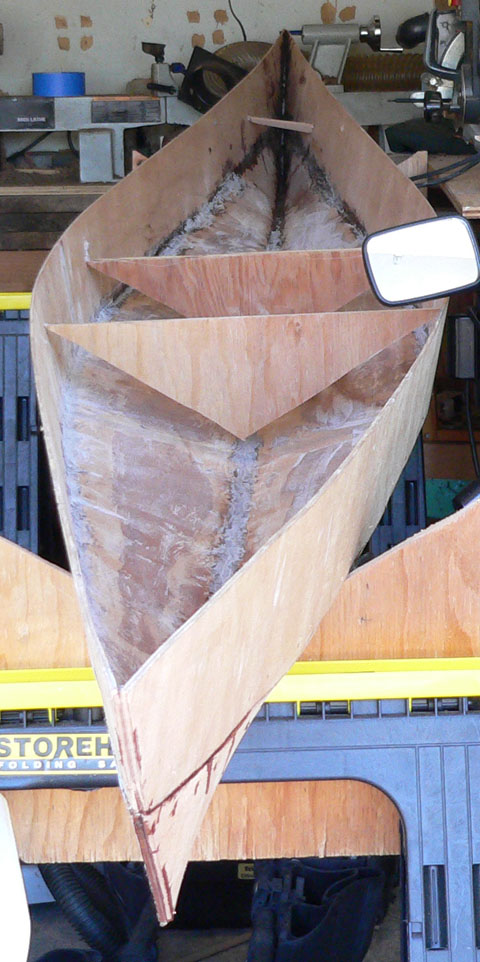
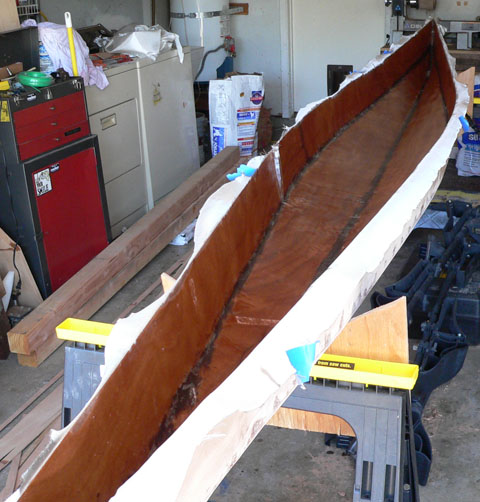
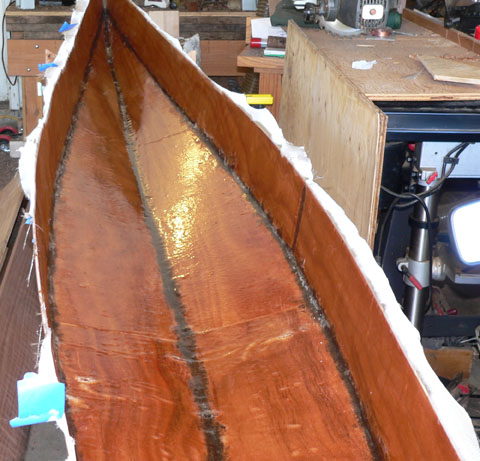
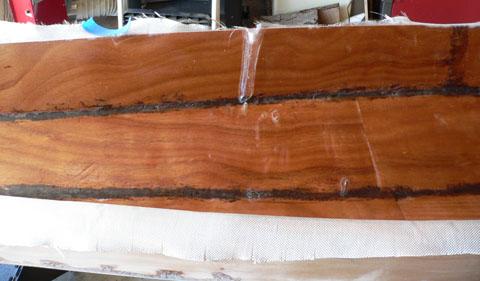
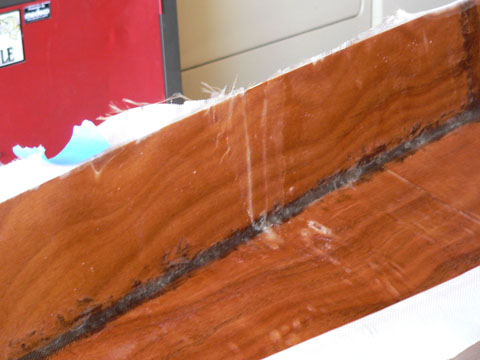
After all the glue dries, it is time to remove the stitches and seal the boat's seams with a layer of thickened epoxy. The recommendation is to thicken the epoxy with wood dust, either purchased for the purpose or simply the contents of a hand sanders dust bag. Unfortunately, I had neither. I figured I'd just grab some of the sanding dust from around my lathe. I got a bunch of it and realized that it was far too course to use for the purpose, so I sifted out the finer powder with a sieve. Sad to say, the resulting dust proved to be far too course to make a smooth mix. I ended up using way too much and sanding it down as well as I could afterwards. Not very good fillets, as these pictures show, but they do the job. I'll do better on the next boat. The fact that the sawdust was from walnut, a far darker wood than my plywood really shows all the elements of construction. I actually think that's sort of cool, so although some would consider it a defect, I consider it a feature.


The fillets have been applied. Now I am attempting to smooth them so the glass will lie smoothly on them when I glass the interior of the boat.


More smoothing. I initially used a cabinet scraper to take down the worst of the bumps. I would later finish off with a random orbital sander on the outside of the hull.


Things still looked pretty rough at this point. I could have saved half the weight and work of the filets if I had realizes that one had to use the really fine wood flour. Some designs use fiberglass tape over the seams at this point, but as I intended to glass the entire interior of the boat, I didn't bother.

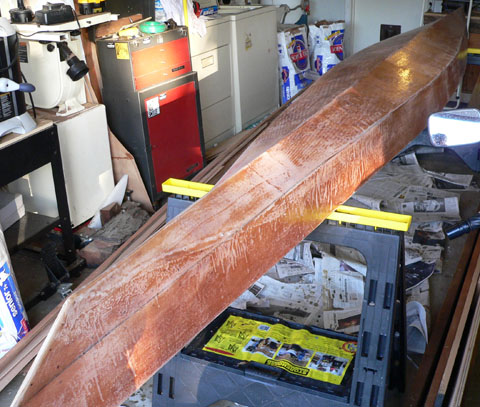
Once the hull was smoothed to my satisfaction, I wetted it out. I first put down a layer of 4oz fiberglass cloth on the area of the interior that I would be sitting on. The extra reinforcement will help when I pull up on rocky beaches or have to stand in the boat for some reason.


Picture of the hull after the first layer of interior fiberglass cloth is wet out with epoxy.


Another picture of the interior of the hull.


This one shows the seam where the interior layer of glass goes over the reinforcement under the area that will be under the seat.


I made a mistake and left a bubble under the glass along the side of the boat.


To repair the bubble I cut it out and then put another layer of glass over the wound.

Once the inside glass was cured, it was time to clean up the outside for glassing.


The bow of the boat seen from the left side. The boat had just gone through an extensive sanding.


The bow of the boat after being sanded. Made great effort to make everything really smooth.


The bow of the boat after being sanded. Made great effort to make everything really smooth.


A close shot of the bow of the boat after being sanded. Shows hardwood stems.


A case of over enthusiastic sanding


Now the fiberglass cloth is laid over the hull. I laid it on the bias (45% off of the weave lines) so that it could fit better over the curves of the hull. Looks pretty nice all by itself. Once I had it laid out to my satisfaction, I trimmed a couple of inches from the hull bottom and prepared to lay on the first layer of epoxy.


Here is a picture of the hull after the first layer of fiberglass cloth is wet out with epoxy. Took almost 3 hours to do.


Another picture of the hull from the other direction. Nice and shiny!


Picture of the hull the next morning after the epoxy has dried. Not quite so shiny anymore. Doesn't look too bad though.


Once the hull had dried enough so that it wasn't tacky to the touch, it was time for a reinforcement layer on the hull bottom. This is called the football area, for obvious reasons if one has seen an America football.


Here's a pic with the extra cloth trimmed off. The edges that are still showing will be sanded off after fill coats of epoxy have been applied to the hull. Everything will be sanded and smoothed at once.


I laid extra layers of glass cloth over the high wear areas on the bow and stern of the boat. I want plenty of material to protect the wood from damage on launches and landings. This is the extra on the stern.


This is the bow of the boat. It tends to take a beating when landing on abrasive surfaces.


Another shot of the bow.


A closeup of the reinforcements patches. The visible fiberglass strings will be scraped away later and will not show on the finished boat.


Here's a shot of the hull after the first two fill coats are smoothed somewhat. It will be filled and sanded a couple more times before it's done. Nice to have the hull smooth.


Here's a closer shot of the bow of the boat.


The other side.

Cormorant Build page 2

Home